Setup
1 Make a GitHub Account
Before using GitHub, it is necessary to have a GitHub account. To make an account, go to the GitHub website and click Sign Up, following the prompts to create your account. As part of the process you will need to verify your email address. Note that GitHub accounts are associated with people, along the lines of a LinkedIn account, and it may be helpful to have a single personal GitHub account even if you plan to use it outside of your work at RFF. It is simple to associate multiple email addresses with your account later on, so it is unimportant which email address you create the account with.
2 Git Installation (5-10 minutes)
It is necessary to install Git onto any computer from which you wish to interact with local repositories. Often, IT has installed Git on RFF computers. You can check to see if you have Git installed by pressing the Windows key and typing “Git”, and see if applications like “Git Bash”, “Git Gui”, and “Git CMD” pop up.
If Git is not yet installed, it is very simple to install!
Navigate to this website and download the latest version of Git.
Double click the downloaded installer to launch the install menu.
Accept all the defaults except the following:
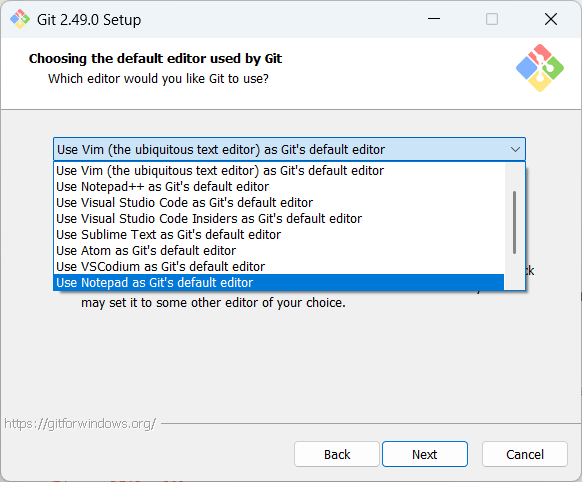
Default Editor: By default, Git uses the “Vim” editor, which a powerful, but very old-school and difficult to use. It is recommended to select “notepad” or some other editor that you are familiar with.
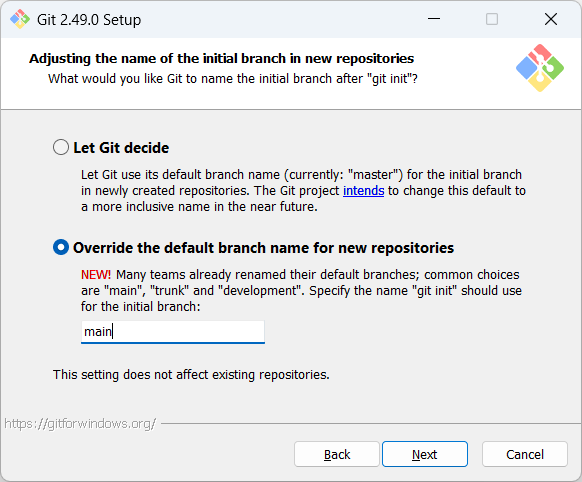
Default Initial Branch: By default, Git uses an initial branch name of “master”. The industry has been moving towards more inclusive branch naming, and we recommend changing the default to “main”.
- Upon completing the install, you will be prompted to restart your computer.
3 Choose a User Interface
When you install Git, it generally will already install a couple of applications you can use to interface with git.
- Git Bash/CMD – (Installed with Git) These options allow you to enter text-based commands for Git in an interface similar to the command prompt window in Windows. Git Bash allows for git commands in addition to standard UNIX commands, whereas Git CMD allows for git commands in addition to standard windows CMD prompt commands. This is a great environment for learning the main processes of Git as a new user, and we will use Git Bash for tutorials on this site.

- Git GUI – (Installed with Git) This is a minimalist graphical user interface letting you use git without having to use a command line. It also allows for simplistic visualization of branches. While our tutorials will use Git Bash, it should be fairly straightforward to use the Git GUI instead.

- RStudio Git Integration - (Installed Separately) RStudio, a popular editor for R code, comes with a Git user interface built in. This may be a good option for R users once they have learned the fundamentals with Git Bash.
If you wish to learn a different user interface, check out the list here, and check with the IT team before installing. Most of the concepts will be fairly similar to what we share in the guide.
4 Optional: Set up SSH Keys
If you will be using Git with private repositories, it is worth setting up a key on your PC so that you can freely pull and push from a remote repository without having to enter your password each time. Follow these instructions for setting up an SSH key, and these instructions for adding it to your GitHub account.
There is a small configuration change we need in order to enable the SSH protocol to work with RFF IT systems. From a git bash window, run the following lines:
touch ~/.ssh/config- This command creates a new empty file in your user home folder/.sshdirectory.printf "Host github.com\n Hostname ssh.github.com\n Port 443" >> ~/.ssh/config- This command writes 3 lines to the newly created config file.
Note that these commands can be run from a Git Bash window open to any directory. The ~ sign represents your home directory. After running the commands, if you were to open the file in a text editor, it would look like:
Host github.com
  Hostname ssh.github.com
  Port 443
Once you have that set up, when cloning a repository to your local folder, simply select the “SSH” option before copying the URL.